Proper cleaning is crucial to maintain their functionality and extend their lifespan. However, improper cleaning methods can lead to bearing failure, increased wear, or costly repairs.
This comprehensive guide explores best practices for cleaning and maintaining dental bearings. We’ll cover sterilization, lubrication, and the common pitfalls to avoid, helping you keep your dental equipment in excellent condition.
Understanding the Role of Dental Bearings
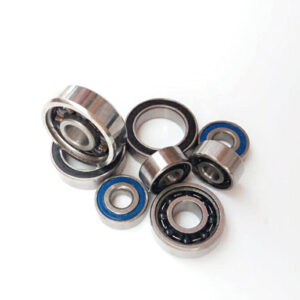
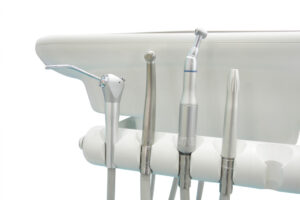
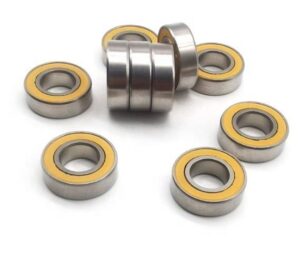
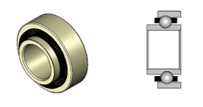
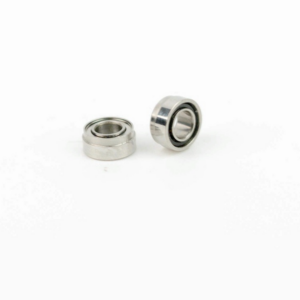
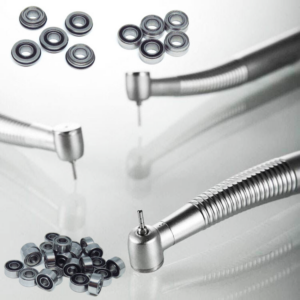
Dental bearings enable the smooth rotation of turbines in dental handpieces, crucial for high-speed operations. They experience significant wear and tear during procedures, making regular cleaning and maintenance essential.
Key Features of Dental Bearings
- High-Speed Bearings: Used in high-speed dental handpieces for precision drilling.
- Low-Speed Bearings: Designed for tasks requiring slower rotational speeds.
Both types demand different cleaning techniques, so understanding their characteristics is the first step in proper care.
Importance of Proper Cleaning
Risks of Improper Cleaning
- Contamination with debris or bacteria.
- Excessive wear due to improper lubrication.
- Bearing failure, leading to operational downtime.
Benefits of Regular Cleaning
- Extends the life of dental handpieces.
- Reduces the risk of cross-contamination.
- Ensures consistent performance during dental treatments.
Cleaning Dental Bearings: Step-by-Step Guide
Proper cleaning ensures the longevity and performance of your bearings. Here’s how to do it right:
Step 1: Disassemble the Handpiece
- Remove the turbine and bearings following the manufacturer’s instructions.
- Use caution to prevent damage to delicate components.
Step 2: Pre-Cleaning
- Use compressed air to remove debris from the bearings.
- Avoid harsh chemicals or ultrasonic cleaners, which may degrade bearing materials.
Step 3: Cleaning Solution
- Use a specialized cleaning solution compatible with your handpiece’s materials.
- Submerge the bearings and gently agitate to loosen contaminants.
Step 4: Rinse and Dry
- Rinse bearings thoroughly with distilled water to remove cleaning agents.
- Dry using compressed air to prevent moisture buildup, which can lead to corrosion.
Step 5: Lubrication
- Apply a high-quality handpiece lubricant before reassembling the bearings.
- Rotate the turbine manually to ensure even distribution.
Best Practices for Sterilization
Sterilization is critical in maintaining a sterile environment and ensuring patient safety. However, improper sterilization can harm dental bearings.
Dos and Don’ts of Sterilization
Do:
- Follow manufacturer recommendations for sterilization cycles.
- Use autoclaves with proper drying settings.
Don’t:
- Expose bearings to excessive heat.
- Skip lubrication before sterilization, as this can lead to dry bearing surfaces.
Signs of Bearing Damage During Cleaning
Even with careful cleaning, bearings can show signs of damage. Here’s what to look for:
- Unusual Noise: Grinding or squeaking sounds.
- Vibration: Handpieces that vibrate excessively during use.
- Reduced Speed: Bearings struggling to maintain high-speed rotation.
When to Replace Bearings
If cleaning and lubrication don’t resolve these issues, consider replacing the bearings to maintain handpiece performance.
Comparing High-Speed and Low-Speed Bearings
High-Speed Bearings
- Require precise cleaning due to their smaller components.
- Sensitive to debris and contaminants.
Low-Speed Bearings
- Less sensitive but still benefit from regular maintenance.
- More forgiving with cleaning techniques.
Tip: Adjust your cleaning methods based on the type of bearing to ensure longevity.
Choosing the Right Cleaning Tools and Products
Using the right tools can make cleaning dental bearings more efficient and effective.
Recommended Tools
- Compressed air for drying.
- Specialized brushes for debris removal.
- Cleaning solutions designed for dental equipment.
Avoid These Products
- Harsh solvents or alcohol-based cleaners.
- Abrasive tools that can scratch bearing surfaces.
Preventing Bearing Failure
Common Causes of Failure
- Lack of lubrication.
- Improper sterilization methods.
- Ignoring signs of wear during inspections.
Maintenance Tips
- Clean bearings after every use.
- Lubricate regularly to reduce friction.
- Replace worn-out bearings promptly.
FAQs
How often should I clean dental bearings?
Clean bearings after every use or sterilization cycle to maintain optimal performance.
Can I use regular cleaning solutions for dental bearings?
No. Use cleaning solutions specifically designed for dental equipment to avoid damaging components.
What happens if bearings are not dried properly?
Moisture can lead to corrosion, shortening the lifespan of the bearings.
Why do bearings need lubrication after cleaning?
Lubrication prevents friction and wear, ensuring smooth operation and extending bearing life.
When should I replace dental bearings?
Replace bearings if they show signs of wear, such as unusual noise, reduced speed, or vibration.
Conclusion
Cleaning dental bearings is a crucial aspect of dental handpiece maintenance. Proper cleaning, lubrication, and sterilization techniques not only extend the lifespan of your bearings but also ensure smooth and safe dental procedures.
By following the guidelines in this article, you can maintain your dental equipment effectively and minimize operational costs. Remember, investing in high-quality cleaning tools and adhering to best practices is key to preserving the performance of your dental handpieces.
